
How Estate Agents Can Create Better Property Photos
Better property photos start with preparation, light and composition. Here is a practical checklist estate agents can use to shoot listing-ready images.
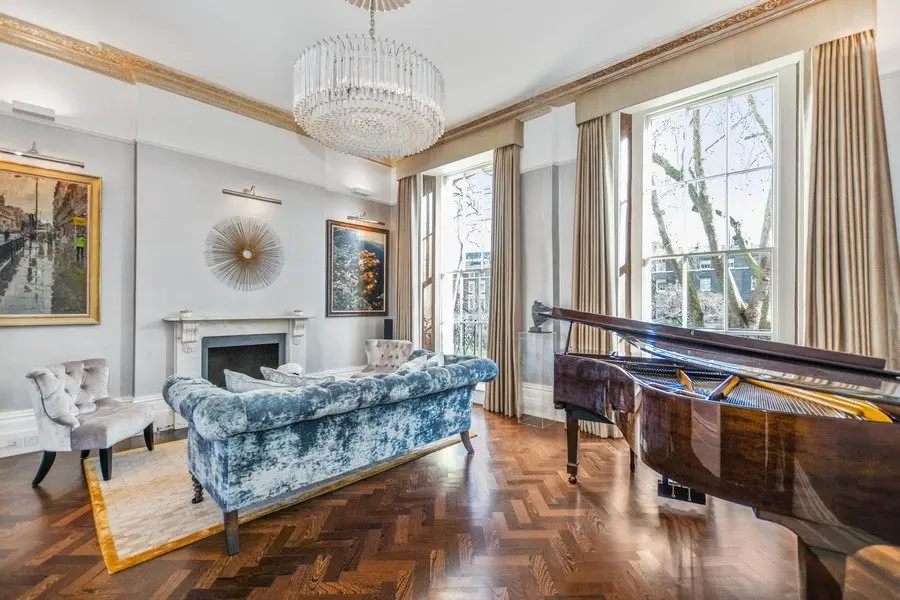
Key Takeaways
- Preparation matters most — declutter and tidy before shooting.
- Shoot in good natural light and keep the camera level for straight verticals.
- Use a wide-angle lens at roughly chest height to show space accurately.
- Bracket exposures so bright windows and dark interiors are both visible.
- Editing and AI tools fix the final 10% — colour, clutter and distortion.
Photos are the single most important part of a listing. Most buyers decide whether to enquire based on the images alone. The good news: better property photos come from a repeatable process, not expensive gear.
Start with preparation
The biggest improvement happens before you press the shutter. Walk each room and:
- Remove clutter, personal items and bins
- Open blinds and curtains for natural light
- Turn on all lights and replace dead bulbs
- Tidy surfaces, straighten cushions and hide cables
- Close toilet lids and clear worktops
If a property is empty, consider virtual staging so rooms do not look bare. If it is cluttered and you cannot fully tidy, AI decluttering can help in post-production.
Use the light
Natural light flatters interiors. Shoot during the day, ideally when the sun is not blasting directly through the windows. Bright windows against darker interiors are the classic challenge — capture multiple exposures (bracketing) so you can keep detail in both, which is the basis of HDR property photography.
Get the composition right
A few rules cover most rooms:
Keep verticals straight
Hold the camera level so walls and door frames run vertically. Tilting up or down makes rooms look like they are falling over.
Shoot at the right height
Around chest height (roughly 1.4m) shows rooms naturally. Too high looks like CCTV; too low exaggerates the floor.
Choose strong angles
Shoot from a corner to show two walls and the depth of the room. Capture the feature that sells each room — the island in a kitchen, the view from a bedroom.
Recommended settings
| Setting | Recommendation |
|---|---|
| Format | RAW |
| ISO | 100-400 |
| Aperture | f/7.1-f/11 |
| Lens | 16-24mm equivalent |
| Support | Tripod |
Finish with editing
Editing is where good photos become great. Correct exposure and white balance, straighten any remaining lens distortion, and remove small distractions. AI photo editing tools make this fast and consistent, and they keep every listing looking on-brand.
A simple shooting checklist
- Prepare and declutter the room
- Set the camera level on a tripod
- Shoot RAW at low ISO, bracketing exposures
- Capture wide and feature shots of each room
- Edit for exposure, colour and distortion
Follow this process on every listing and your photos will be noticeably more professional — which means more enquiries and faster sales.
Frequently Asked Questions

ReHub Editorial
Real Estate Media Editorial
Researched, fact-checked guides on property marketing, real estate photography and AI property technology.
Ready to improve your property marketing?
Edit photos, remove clutter, stage rooms, create HDR images and generate property marketing content using ReHub Studio.
Related Articles
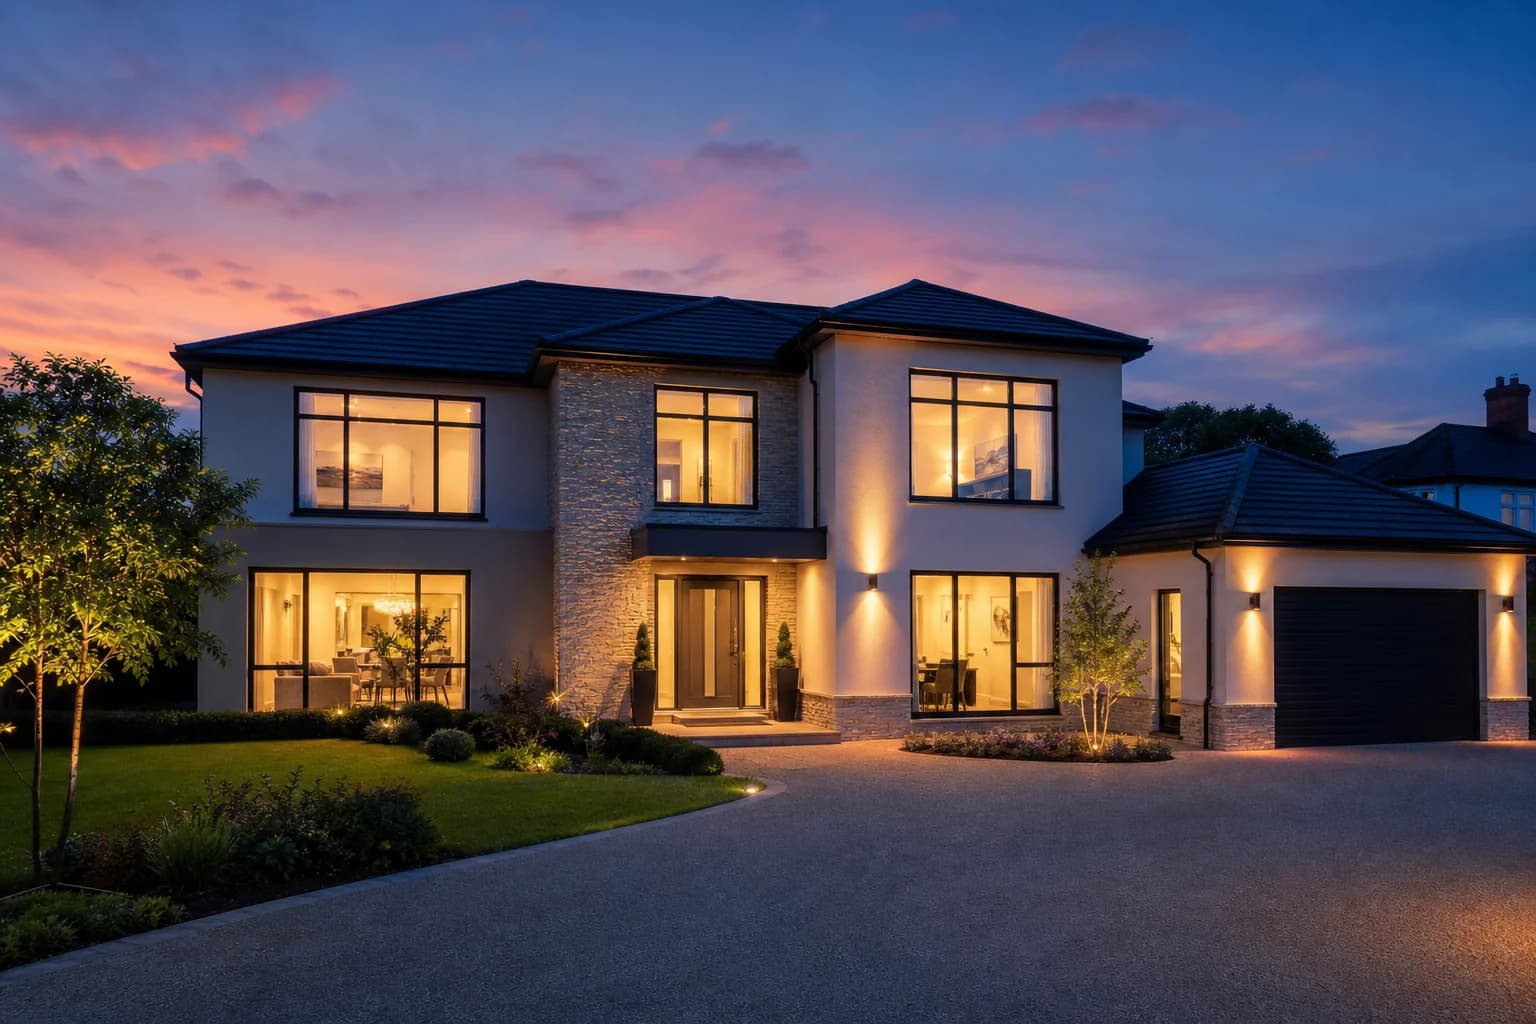
Twilight Photography Explained: Why HyperDusk Is Changing Property Marketing
Learn what twilight photography is, why it attracts more buyers, and how HyperDusk uses AI to create realistic twilight property images from daytime photos in minutes.
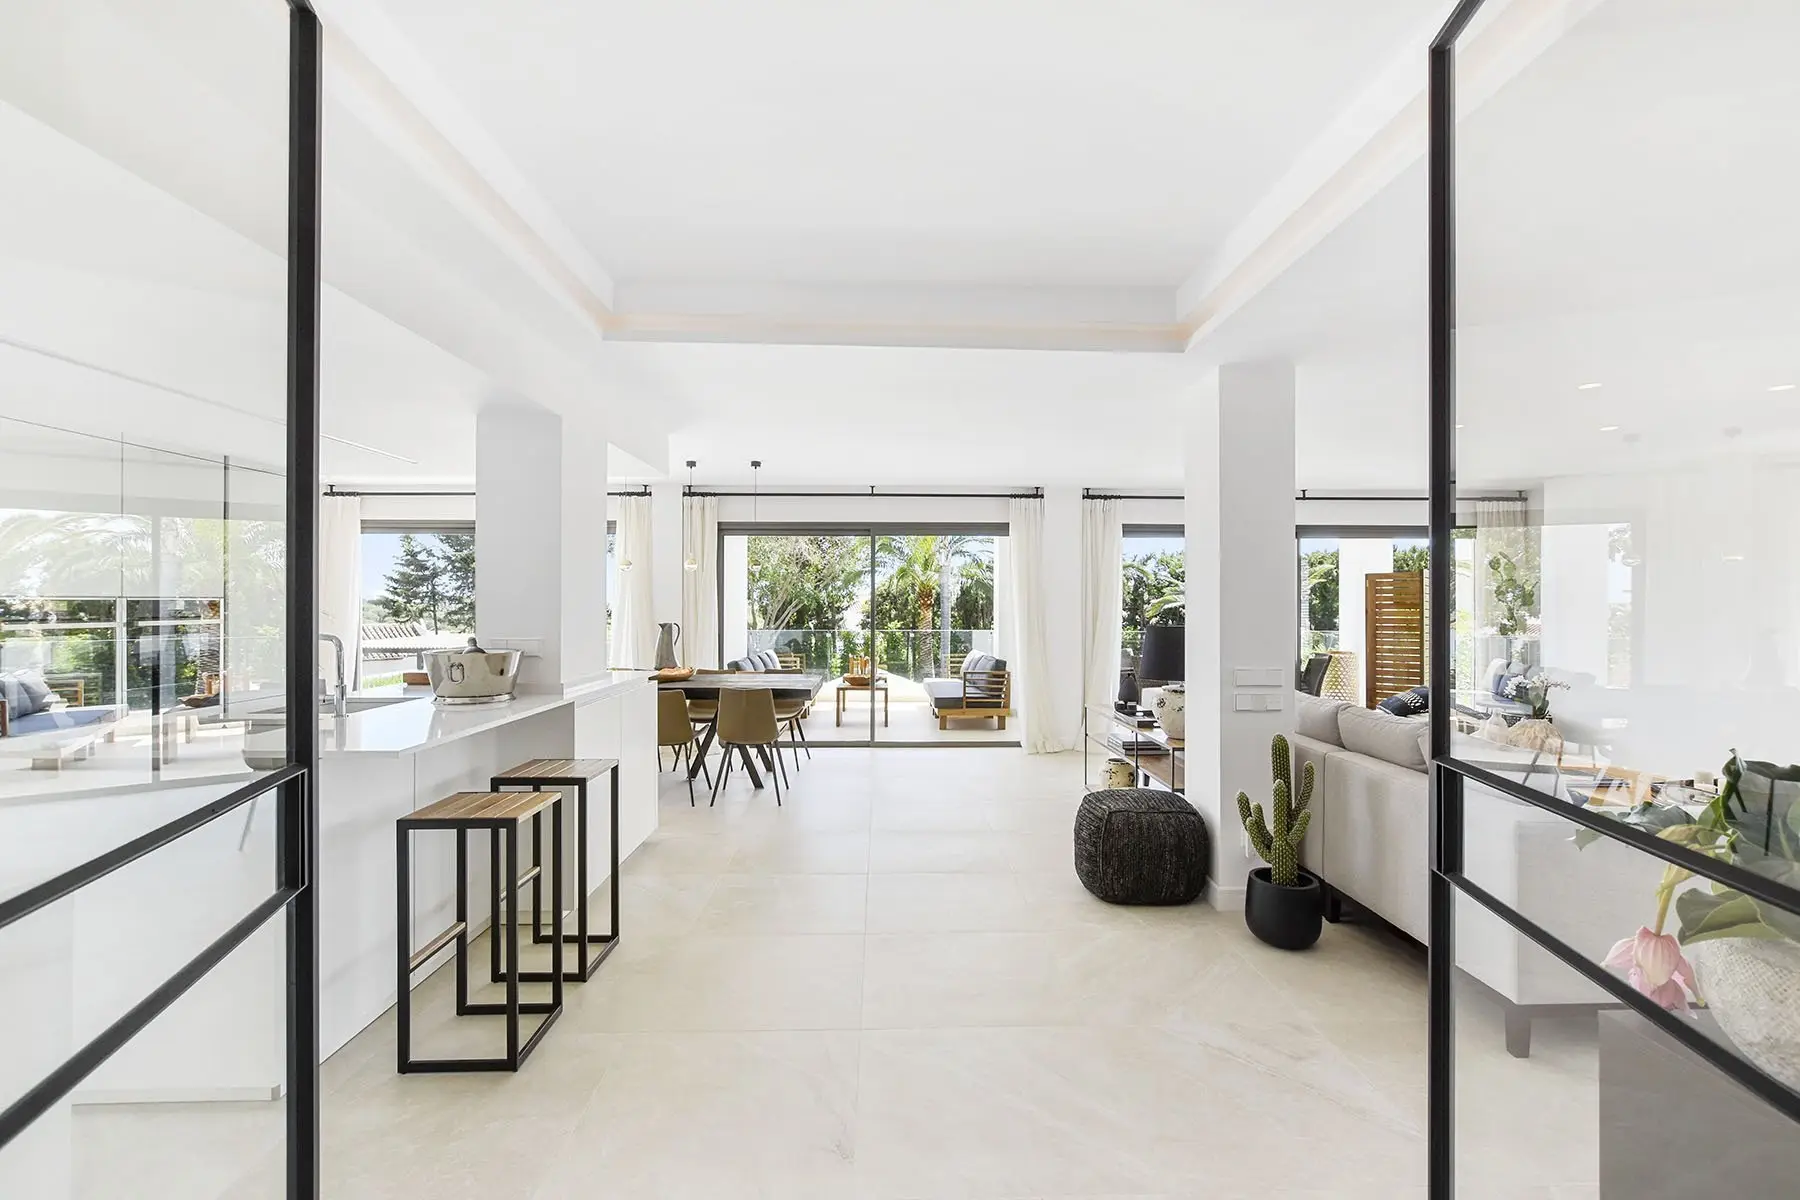
How to Remove Clutter From Property Photos
Clutter distracts buyers and makes rooms look smaller. Learn how to remove clutter from property photos using preparation and AI decluttering tools.
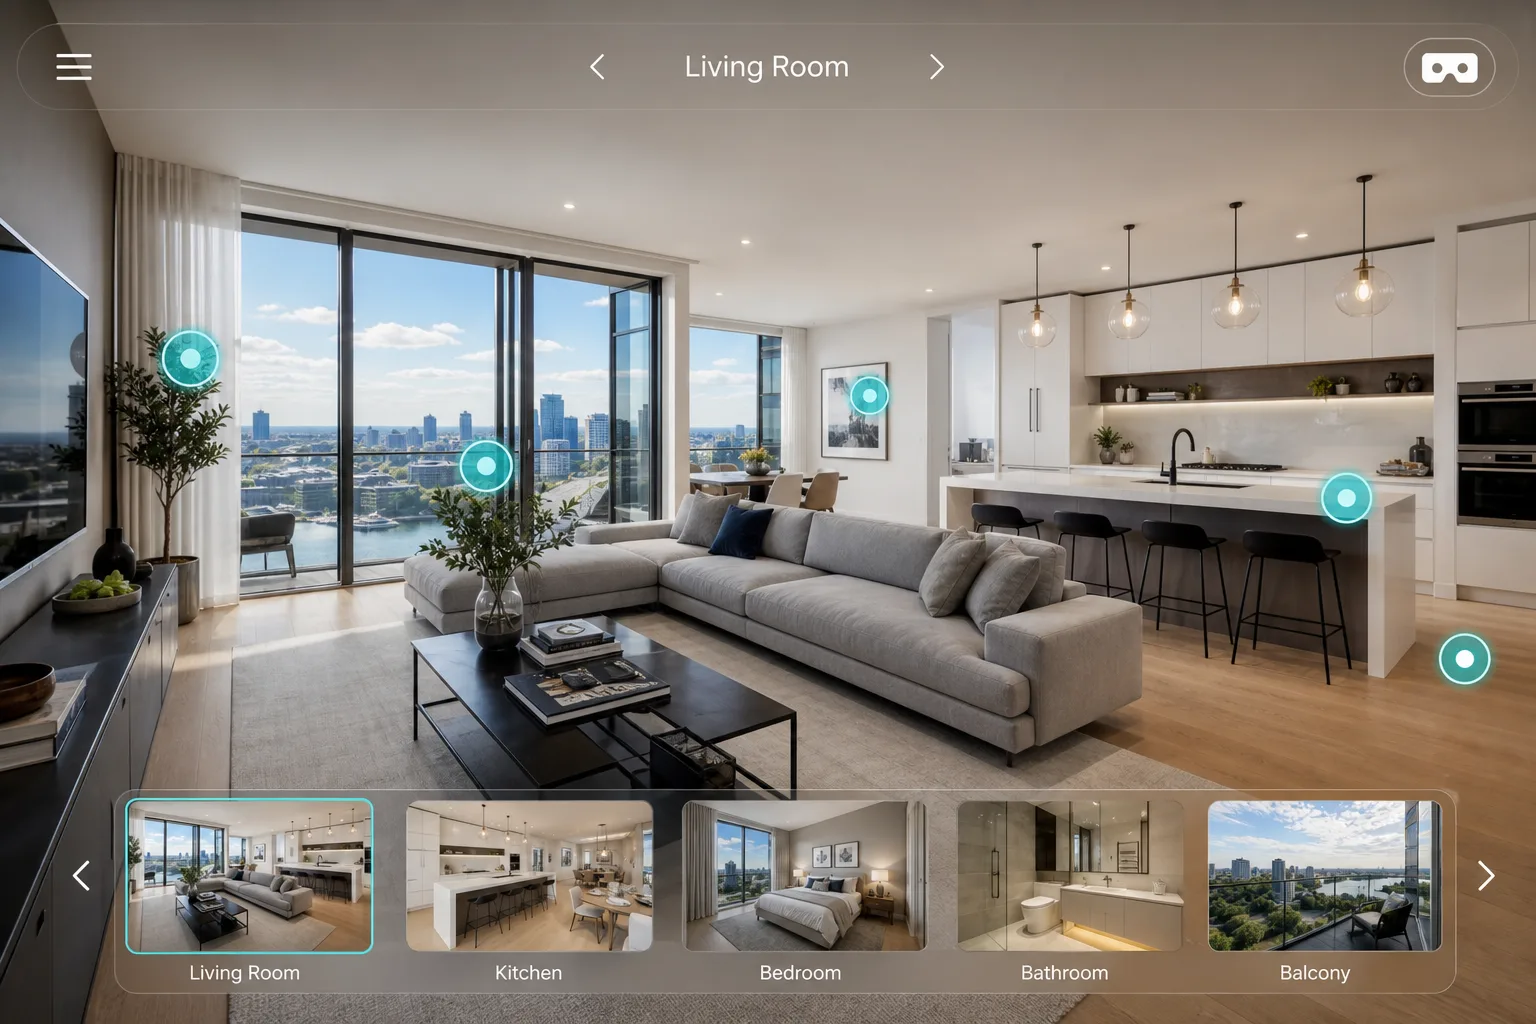
What Is a Virtual Tour? The Complete Guide to Interactive Digital Experiences (2026)
Learn what a virtual tour is, how it works, the different types available, and why businesses use interactive virtual tours to increase engagement and sales.